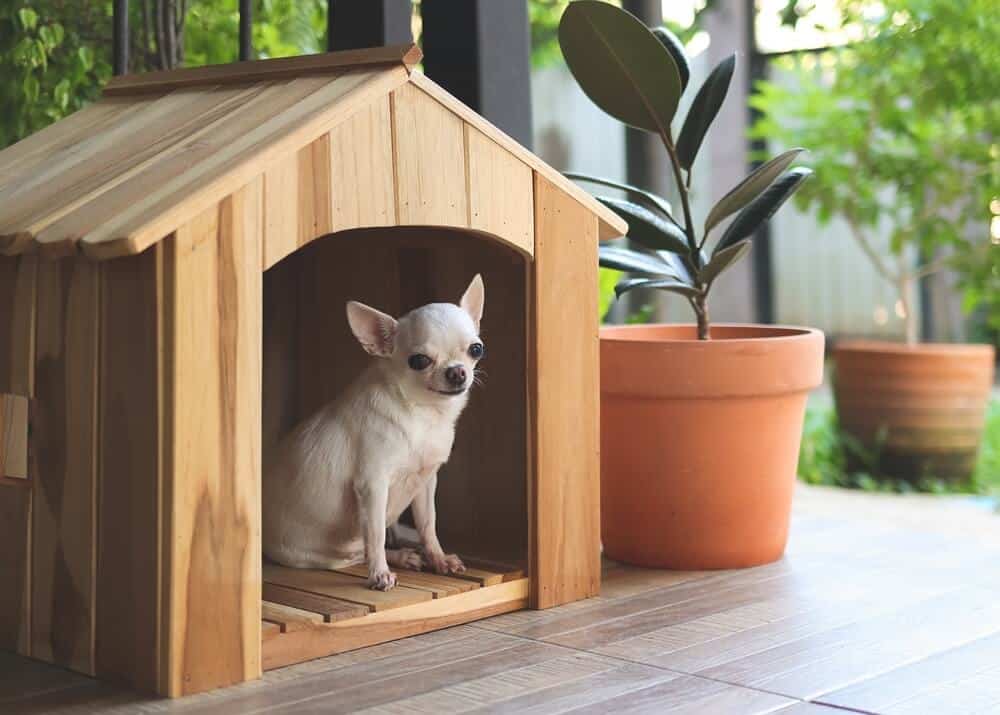
Whether you’re planning a kennel design or figuring out how to make a homemade dog kennel with what you’ve got on hand, it all comes down to giving your dog a safe, comfortable space. Learning how to build a dog kennel out of wood isn’t just practical – it’s a chance to slow down and enjoy a bit of DIY.
After all, every dog deserves a snug little spot to retreat to when the weather takes a turn, and there’s something genuinely rewarding about making that space with your own two hands. It’s a small project with big heart, and a great place to begin if you’re new to building DIY dog kennels.
In this article
What you’ll need to build a dog kennel from wood
In this guide we’ve opted to use plywood because it’s a handy way of getting readymade wood in wide dimensions. That saves you from hammering together multiple planks to get the same coverage.
We’re using a standard set of dimensions to build this plywood DIY dog kennel. If you have a bigger pooch, you can measure up in size. Likewise if your fluffball is on the tiny side, feel free to scale down.
Plywood comes in a standard size of 122cm x 244cm so we’ve taken this into consideration for this building plan. If you’re wondering how to make a homemade dog kennel, this method ensures a sturdy and cosy shelter for your pup.
For this DIY dog kennel, you need the following:
Materials
- 4 plywood sheets for the front, sides, back and floor
- 2 plywood sheets for the rooftop
- Smaller solid wooden pieces to make a foundation for added insulation (we’re going for gold – or at least cosy)
Tools
- Circular saw/panel saw
- Hammer
- Jigsaw
- Building adhesive
- Square tool
- Tape measure
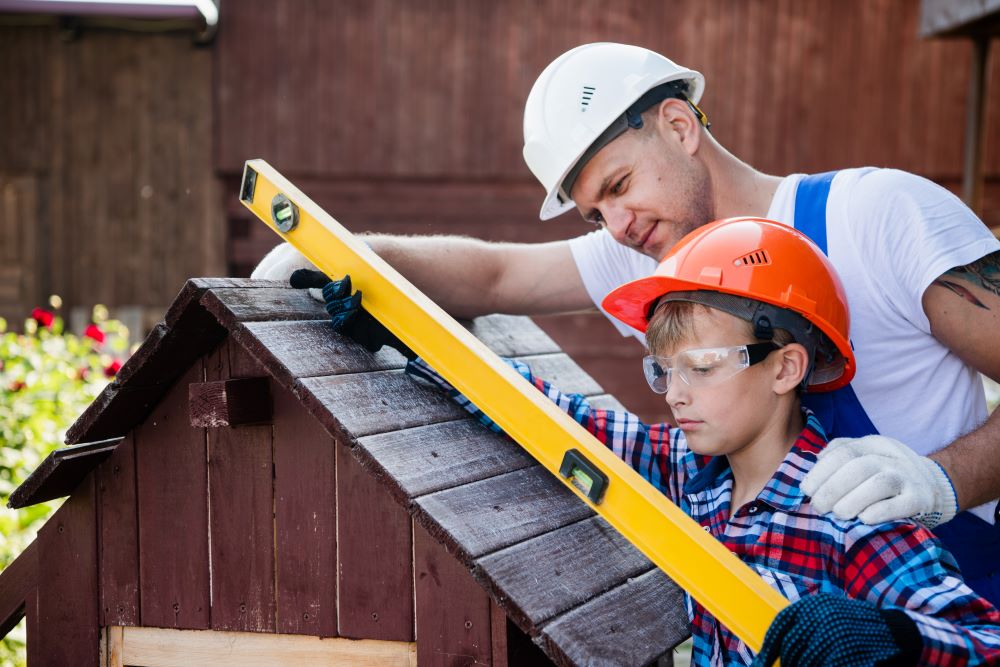
These tools are your basic kit to prep and assemble your materials. These tools are your basic kit to prep and assemble your materials. If you’re learning how to make a homemade dog kennel with kids, you can skip the saw by asking your local hardware store to do the cutting once you’re done measuring.
Steps for building a dog kennel out of wood
If you’ve ever bought your dog a travel crate, you’ll know it must be big enough for Rover to stand up, turn around and lie down in. This is pretty much a similar guideline for building your dog’s DIY wooden kennel.
Measuring your dog
Start by taking your dog’s measurements. You need to measure:
- Length
- Width
- Height
Now consider how much to add on to your dog’s basic size for them to stretch and shift around without needing to crouch. Make sure it’s big enough to be comfy, whilst keeping it small enough to be cosy. (Don’t go too big or it won’t be warm.)
Prepping the wood to build your dog kennel
Naturally you’ll be starting from the bottom up (basics in architecture 😉). As we mentioned, you’ll want to ensure there’s adequate room for lying down and turning around. Also, if your dog is still young, you need enough room for them to grow and still fit into their DIY kennel.
Floor panel
- Mark up the measurements of your dog on the ‘floor’ panel
- Add on a bit of extra space for your dog to move around
- Set the marked up panel on a pair of sawhorses (with the good/smoother side up)
- Cut to size (or ask your friendly building store to do it for you)
🐶 Pro Tip. Be sure to use your square tool for neat edges.
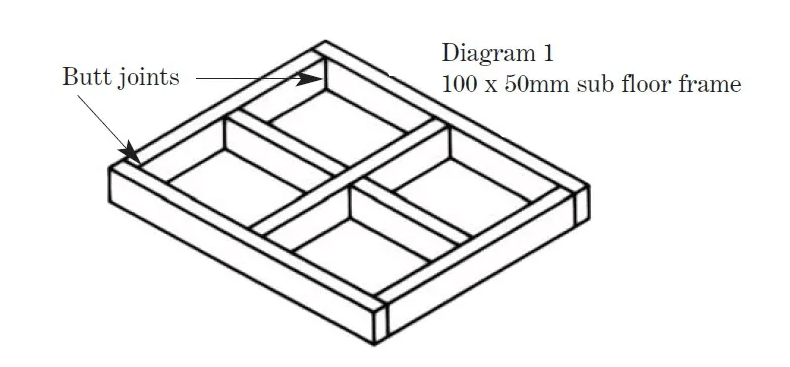
Floor insulation
Keeping the floor off the ground helps to insulate it and keep it warm. Importantly, in a bout of rain this will also help prevent your pup’s wooden kennel den from being flooded.
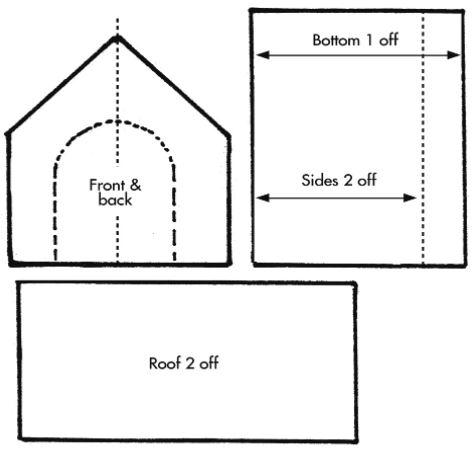
Measure the smaller pieces of solid wood using the below diagram. You’re going to want them to raise the wooden dog kennel at least 10cm off the ground. You can either use wood glue or construction adhesive to join your base to the kennel floor.
An optional reinforcement is to use nails or screws for added strength. If you do so, make sure the sharp ends face sideways or downwards and don’t protrude up into your dog’s kennel floor. If you’re following steps on how to make a homemade dog kennel, this part helps ensure it’s safe and sturdy.
The smaller pieces of wood we mentioned earlier come into action here. Using the below diagram, you’ll want to measure the wood – and these shouldn’t be plywood, but rather solid wood.
Front and back
Now we can start building from the ground up. Using your dog’s dimensions for height plus a bit of extra, mark up the side, front and back panels. Make sure their widths match the dimensions of the front, back and sides of the base they’ll connect to. And remember to always use your square tool to get your corners ship-shape.
Now comes the interesting part of building a wooden dog kennel – the angled roof! If you’re learning how to make a homemade dog kennel, this step gives it that classic A-frame look. Check the measurements for the width of your front panel and halve this. Measure this much from the top and mark angled lines from the top left and right corners to the pinnacle.
This gives you the A-shape to fit the roof. And you can replicate the process for an identical back panel. The only difference is that one panel will have a doorway cut into it.
🐶 Pro Tip: Make sure the grain in the wood runs vertically on the front and back panels. But for the side panels, make sure it runs horizontally.
Sides note for the sides
As you can see from the picture above, although you took your measurement for the A-shape from the top point of the front and back, you won’t do this for the sides. Rather the top of the sides will stay where you’ve marked them up with allowance for your dog to stand.
And just a refresher that the width of each side will need to match the width of the base of the kennel. Once you’ve cut one side you can cut the other to identical dimensions.
A door to a whole new world
If you haven’t already, mark your dog’s arched doorway into the front panel. Make it a bit bigger than them so they can easily move through it without cuts and scrapes. Drill a hole in one corner that’s been marked up for the door to be cut and cut it out using your jigsaw.
A roof above one’s head
Getting the width of the roof panels is easy. Simply match the width of each of your two roof panels to the width of the side panels. Then, see how they fit over the A-shaped front and back. You want them to measure them long enough to extend out over the sides of the kennel. When figuring out how to make a homemade dog kennel, this step ensures the roof gives proper coverage on all sides.
Giving the roof panels an overhang helps drain off rain. It also helps limit excess moisture from affecting the end grain. Then use a saw or a plane to bevel the edges of your roof panels to create a mitre joint.
🐶 Pro Tip. Round off the corners of the roof to keep your dog safe from being poked.
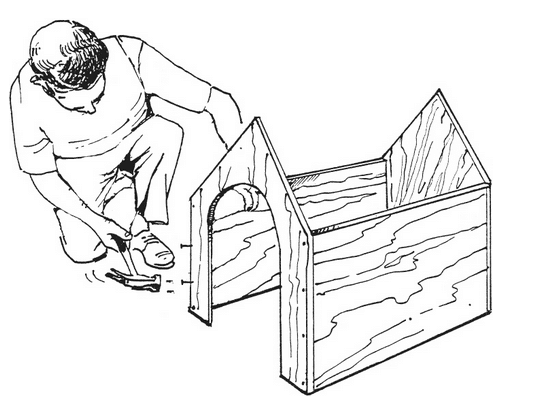
Assembling your new wooden dog kennel
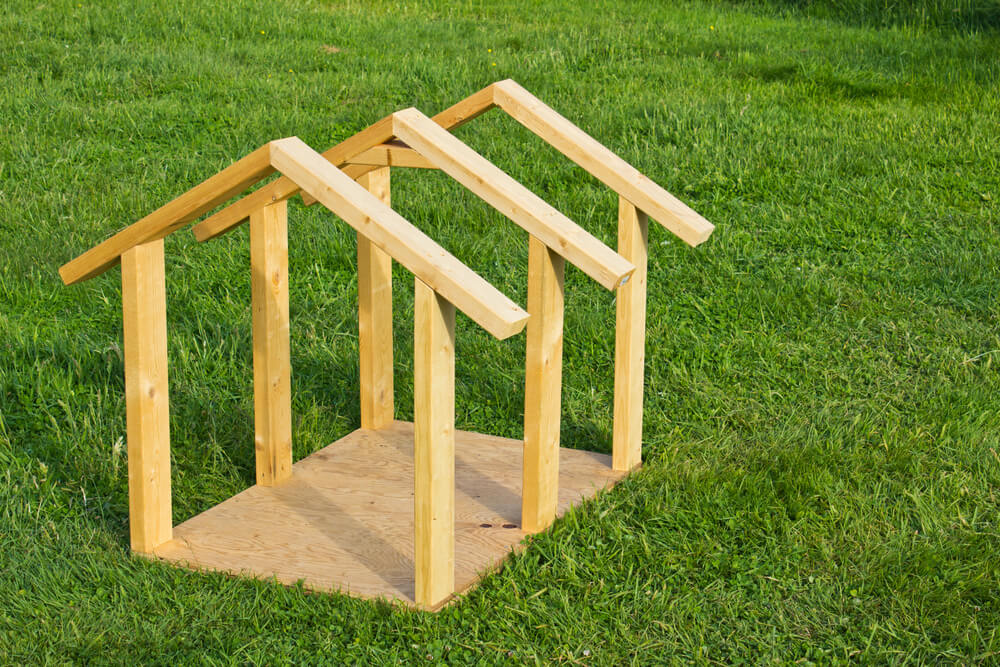
Once you’ve cut all the walls for the wooden dog kennel, assemble them one by one by adding glue and then connecting each to the floor panel. It’s up, up, and away! When you’ve connected the four wooden wall panels for the dog kennel you can move onto the roof panel.
Be generous with the adhesive on the apex joint of the roof and we’re all for added fastening with screws or nails. Again, make sure they won’t poke into and hurt Bella.
A neat trick
There are oodles of building materials you might use to fasten together your dog’s wooden kennel. Wondering what type of glue would be most appropriate? Here’s info on the best wood glue for the task.
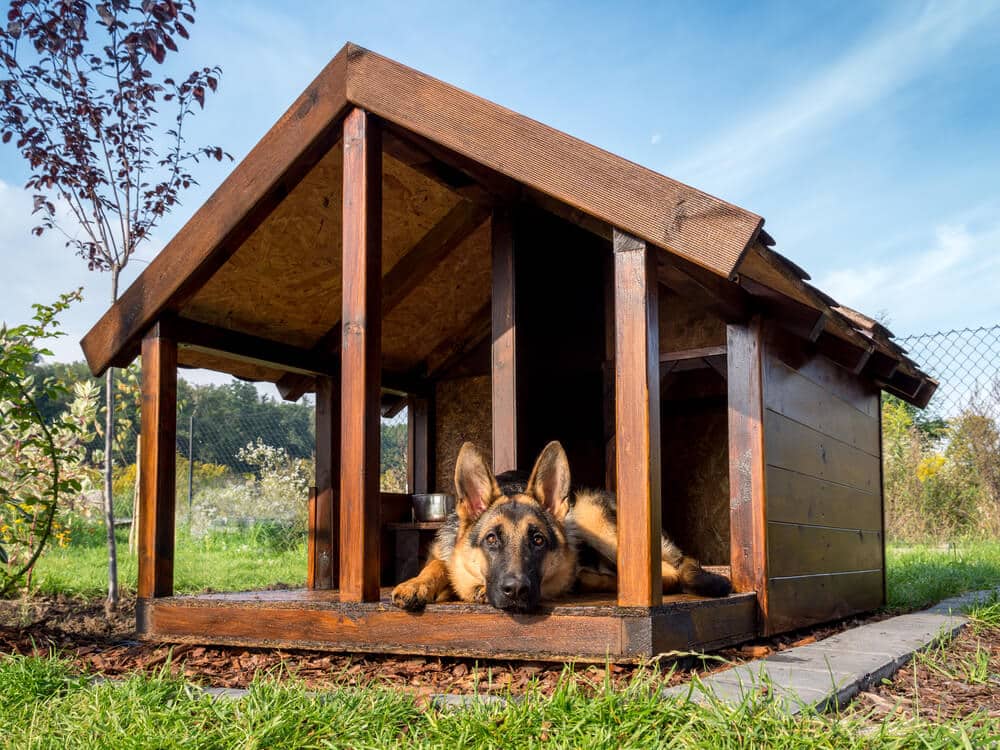
For those who simply aren’t content with the basics of building an entry level wooden dog kennel, check out this video for a luxury one instead:
Finishing touches for your home-built wooden dog kennel
Ideally this DIY wooden dog kennel ticks all your dog’s boxes for a relaxing den from which to view his or her domain. That said, it’s more of a daytime thing – read ‘can dogs sleep outside‘ to see why.
Nevertheless daytime can be cold, stormy and cold at the best of times. Now that you know how to build a dog kennel out of wood, you need it to be waterproof and windproof too.
You could opt to fasten plastic lining to the inside of the dog kennel. Although avoid this if there’s any chance of puppo taking a bite out of it. Read about accidental ingestion and what to do if your dog or cat chokes.
Another option is to give your plywood dog kennel some added durability from rain and shine with a couple of coats of varnish.
🐶 Pro Tip. Read more ways to waterproof plywood and choose the best one for you.
Bells and whistles
You might think about putting a dog blanket and some of your pup’s favourite toys inside their newly built wooden dog kennel. Or, when the weather turns hot, perhaps place a pet cooling mat inside instead.
Want more great ways to keep your dog warm this winter? Then read about dog jackets, beds and more!
Since you’ve made it this far, we’re sure you’re the kind of pet parent who likes to stay informed and involved. If that sounds like you, here are some more how-to guides that might come in handy:
- Bye-Bye, Eye Gunk! How to Remove Dog Tear Stains
- Accidental Ingestion: Here’s What Dogs Swallow + How To Prevent It
- How to Keep a Dog’s Cast Dry (to Avoid Amputation)
- How to Change Your Pet’s Food Without Upsetting Their Tummy
- How to Make Your Own Pet First Aid Kit
Dog insurance to weather any storm
Vet bills for the simplest of ailments, accidents and allergies can sometimes cost a paw and a tail. From unexpected vet visits to medication, hospital bills and more – it all adds up. Our canine buddies deserve proper medical care when they need it, but the time, tools and expertise involved naturally come at a cost.
Since you’ve learned how to build a dog kennel out of wood to shield your pup from the elements, it makes sense to think about softening life’s other knocks as well.
PD pet insurance helps safeguard against accidents, illnesses, third party damage and more. It’s one way to help give your furkid the soft landing they deserve, so you can enjoy every tail-wagging moment without the financial worry. Get a quick quote below, today.